Key lime pie bars bring the zesty charm of the tropics straight to your kitchen with every creamy bite. In this article, I’ll walk you through how to make these sunshine-packed bars the right way—smooth, tangy, with just the right crust. We’ll cover essential tips like choosing the best limes, how to prevent a soggy crust, and how long these citrus treats last in the fridge. Plus, I’ll include a homemade story that started it all. Whether you’re baking for a family reunion or just a solo sweet tooth, key lime pie bars are about to become your go-to dessert.
Table of Contents
Key Lime Pie Bars – Easy, Creamy, Tangy Dessert Squares
Key Lime Pie Bars and the Southern Story That Started It All
Back in the heart of Tennessee, summer meant sticky porches, cold sweet tea, and something baking in the oven. Our go-to desserts leaned heavy on tradition—think peach cobbler or banana pudding. But everything changed the day my cousin returned from Florida with a paper sack full of fresh Key limes. I’d never seen anything like them—smaller, brighter, and more fragrant than the limes from our local store.
I was barely twelve, standing barefoot on the kitchen stool while my mama handed me the zester. We had no idea what we were doing, but together we built something magical: a pan of what we’d later call key lime pie bars. Tangy, sweet, and cool as creek water on a hot day, those bars didn’t last an hour.
Now, I’ve fine-tuned the recipe, and I’ve learned a few tricks—like pre-baking the crust and using fresh zest for maximum citrus punch. If you’ve ever made pineapple pound cake and loved how tropical flavors transform a simple bake, you’ll appreciate how these bars bring that same sunny energy.
And if your sweet tooth leans more classic, you’ll also enjoy the smooth, cheesecake-like texture of my mascarpone cheesecake—it’s another family favorite with a creamy base and bright twist.
These bars are easy to make and even easier to love. Let’s dive into why they’ve stood the test of time.
Why These Bars Beat the Classic Pie Every Time
Traditional Key lime pie is a Florida icon—but let’s be honest, slicing and serving pie can be fussy. That’s why key lime pie bars are the better bet: they’re handheld, freezer-friendly, and just as creamy and zesty as their pie cousin.
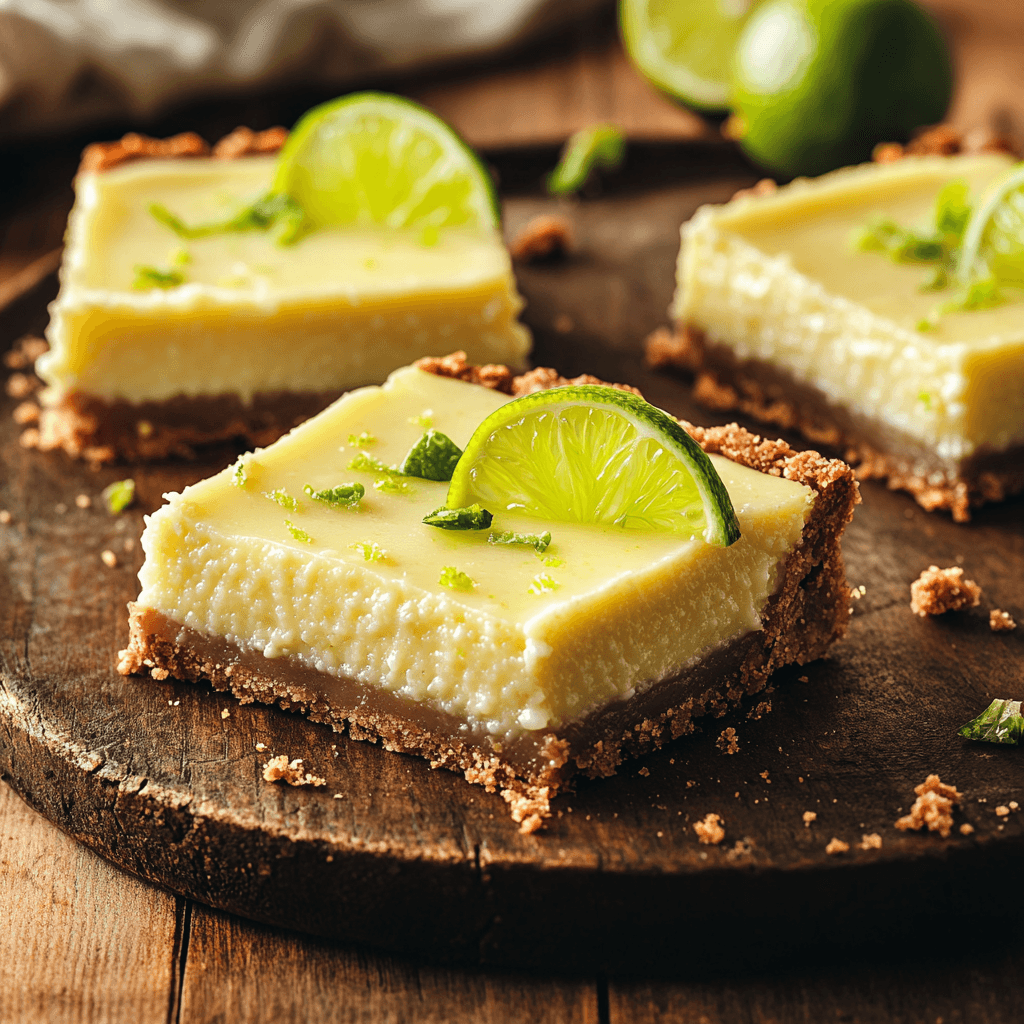
They start with a buttery graham cracker crust that’s pressed, pre-baked, and cooled. Then comes the lime-kissed filling—smooth, just sweet enough, and balanced by the bright acidity of Key lime juice. Once baked and chilled, these bars cut clean and hold up like champs at any gathering.
Whether you’re making dessert for a crowd or just stocking the fridge with something special, these bars are everything you love about pie, only easier. And don’t worry—we’ll walk step-by-step through ingredients, smart substitutions, baking tips, and even how to keep them fresh all week long.
Essential Ingredients for Authentic Key Lime Pie Bars

What You Need for That Bold Citrus Flavor
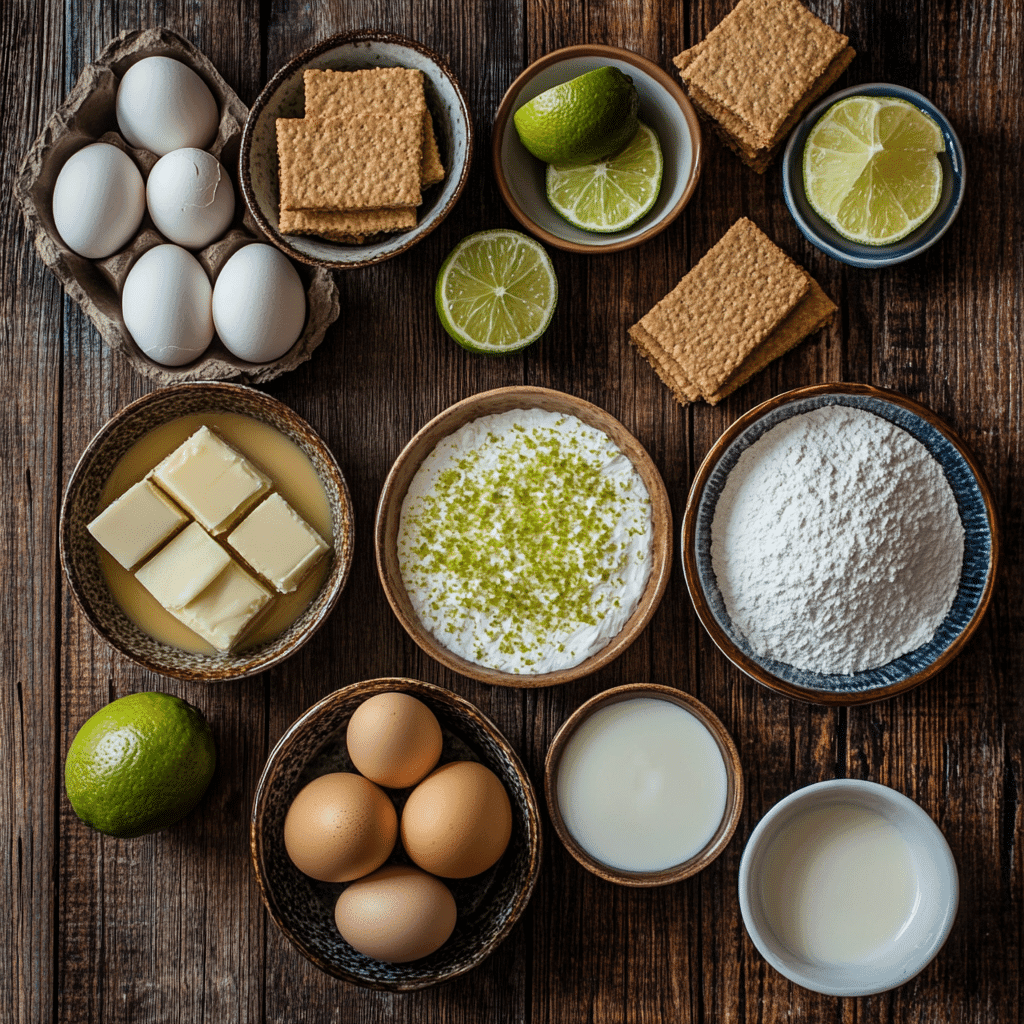
Great key lime pie bars begin with just a handful of quality ingredients. Each one plays a specific role in delivering the perfect balance of tartness, sweetness, and texture.
| Ingredient | Purpose |
|---|---|
| Key Lime Juice (fresh preferred) | Provides that signature tangy, tropical flavor |
| Key Lime Zest | Adds intense citrus aroma and flavor depth |
| Sweetened Condensed Milk | Gives the filling its smooth texture and sweetness |
| Egg Yolks | Creates structure and creaminess in the filling |
| Graham Cracker Crumbs | Forms the crisp, buttery crust |
| Butter (unsalted preferred) | Binds the crust and adds rich flavor |
Optional ingredients for variation:
- Cream cheese: Adds extra richness and structure
- Salt: Enhances crust flavor
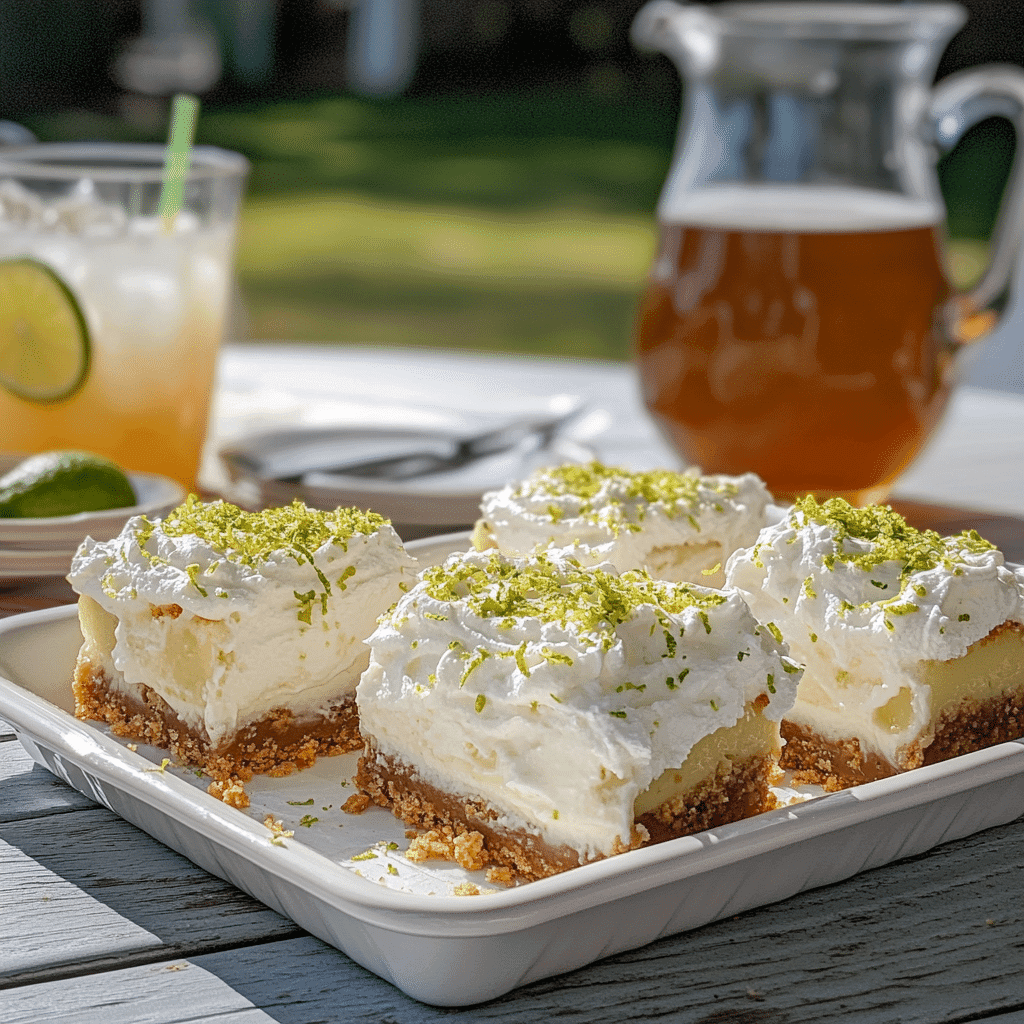
- Whipped cream or coconut flakes: For topping or garnish
You can also experiment by mixing in flavor-boosters like shredded coconut or white chocolate chips. I often use that method when making my strawberry cake with strawberry filling, layering in complementary flavors for a more dynamic bite.
Smart Swaps When You’re Low on Supplies
Don’t have fresh Key limes? No problem—there are great alternatives that still deliver delicious results.
Here are quick, tested swaps and tips:
- Can’t find Key limes?
- Use regular limes, but add extra zest to intensify the citrus notes.
- Or try bottled Key lime juice (like Nellie & Joe’s)—convenient and still flavorful.
- Out of graham crackers?
- Use digestive biscuits, vanilla wafers, or even crushed pretzels for a salty-sweet spin.
- Need a gluten-free version?
- Use gluten-free graham crackers or almond flour + coconut oil for the crust.
- Want it dairy-free?
- Sub sweetened condensed coconut milk and dairy-free butter or margarine.
- Trying to reduce sugar?
- Look for unsweetened condensed milk and adjust with honey or maple syrup to taste.
- Add-ins for flair:
- Mix in shredded coconut, white chocolate chips, or even a swirl of raspberry purée before baking.
When you’re feeling adventurous, these swaps make each batch your own. They’re just as fun as the twists in my churro cheesecake recipe, which also blends familiar comfort with exciting texture.
How to Make Key Lime Pie Bars Like a Pro
Getting the Crust Just Right
The crust is the unsung hero of key lime pie bars. If it’s too soft, your bars fall apart. Too hard? You’ll need a steak knife. A buttery, crisp crust balances the tangy filling and holds everything together like a dream.
Crust-Making Tips for Perfect Key Lime Pie Bars:
- Use finely ground graham cracker crumbs: The finer the crumb, the tighter the crust. You can pulse full crackers in a food processor or buy them ready-made.
- Mix with melted butter and a touch of sugar: Unsalted butter lets the lime flavor shine, and sugar gives a nice caramel note.
- Add a pinch of salt: This brings balance and cuts the sweetness—especially helpful in citrus desserts.
- Press firmly into your pan: Use the bottom of a measuring cup or glass to create an even, compact base.
- Pre-bake at 350°F for 10 minutes: This ensures your crust holds up under the creamy filling. You’ll get that perfect base every time.
- Let it cool completely before pouring in the filling.
I use this same crust technique in recipes like my old-fashioned hummingbird cake to ensure structure beneath moist, flavorful layers. It works just as well here with these citrus-packed squares.
Mixing and Baking the Filling Perfectly
The soul of any batch of key lime pie bars lies in its filling—smooth, tart, and firm enough to slice cleanly. Achieving that balance starts with a few non-negotiables.
Filling Tips for Key Lime Pie Bars Done Right:
- Whisk gently, not aggressively: Over-whipping causes cracks and bubbles.
- Use fresh Key lime juice and zest: The fresh juice gives a bold flavor that bottled versions just can’t match.
- Bake until the edges are set and the center slightly jiggles: Usually around 15–18 minutes at 350°F.
- Chill for at least 3 hours before slicing: Cooling helps the filling set completely and enhances the flavor.
When made properly, your key lime pie bars will have a clean, creamy texture and sharp flavor that rivals any bakery slice. It’s a method I also apply to my chocolate cake with chocolate mousse, where the balance of rich and light flavors makes each bite a standout.
Storing Key Lime Pie Bars and Serving Ideas
Keep Them Fresh, Crisp, and Ready Anytime
Key lime pie bars aren’t just easy to make—they’re one of the best desserts for prepping ahead. When stored properly, they hold their creamy texture and bold citrus flavor for days.
Here’s how to store key lime pie bars for max freshness:
- Refrigerate tightly covered: Store in an airtight container or cover the pan with plastic wrap. This prevents them from drying out or absorbing fridge odors.
- Chill time before serving: After baking, always chill your bars for at least 3 hours. Overnight is even better for firmer, easier slices.
- Fridge shelf life: Key lime pie bars stay fresh in the fridge for up to 5–7 days.
- Freezing for later: You can freeze them! Slice into squares, wrap each in plastic wrap, then store in a zip bag. Thaw in the fridge for best results.
- Avoid room temperature storage: Due to the egg yolks and dairy in the filling, keep key lime pie bars chilled to prevent spoilage.
I love prepping these bars ahead of events. They’re just as make-ahead friendly as my lemon blueberry icebox cake, which also benefits from an overnight chill for better flavor.
Creative Twists and Toppings to Try

One of the best things about key lime pie bars is how easily you can dress them up. A basic bar becomes bakery-worthy with just a few finishing touches.
Here are topping ideas and flavor twists:
- Classic toppings:
- Fresh whipped cream or piped rosettes
- Lime zest curls
- Crushed graham cracker crumbs
- Tropical upgrade:
- Toasted coconut flakes
- Pineapple or mango glaze drizzle
- Party-ready presentation:
- Add mini meringue kisses on top
- Sprinkle powdered sugar through a stencil for designs
Want to mix it up even more?
- Raspberry swirl: Drop small spoonfuls of raspberry jam into the filling before baking, then swirl with a toothpick.
- Chocolate crust: Swap graham crackers for chocolate cookies to create a more decadent contrast.
- Coconut crust: Try the crust from coconut cream pie bars for a rich tropical spin.
However you slice them, key lime pie bars are a canvas for flavor. They’re simple enough for a weekday dessert, yet elegant enough to serve at your next celebration.
Looking to go bold? Try pairing them with a slice of tres leches pound cake on a dessert board—it’s a combo of rich and tangy that hits all the right notes.
Frequently Asked Questions About Key Lime Pie Bars
What is the difference between Key lime pie and lime pie bars?
Key lime pie is a full-size pie typically served in slices with a graham cracker crust, while key lime pie bars are a handheld, square-shaped version. Bars are easier to transport and cut, making them more convenient for serving crowds.
Can I use regular limes instead of Key limes?
Yes, you can use regular limes, especially Persian limes. Just add extra zest to mimic the intense citrus flavor of Key limes. Bottled Key lime juice is also a decent substitute if fresh isn’t available.
How do you keep Key lime pie bars from getting soggy?
Pre-baking the crust is essential. Bake at 350°F for 10 minutes before adding the filling, and allow it to cool fully before pouring in the filling. Also, store bars in an airtight container in the fridge.
How long do Key lime pie bars last in the fridge?
They stay fresh in the refrigerator for 5 to 7 days. You can also freeze them individually for up to 2 months and thaw them overnight in the fridge before serving.
Final Thoughts on Making the Best Key Lime Pie Bars
If you’re looking for a dessert that’s simple, refreshing, and absolutely crowd-pleasing, key lime pie bars check every box. They bring the bold, citrusy zing of a tropical vacation right into your kitchen—no plane ticket required. With just a few ingredients and a little love, you’ll get perfect squares of creamy, tangy goodness every time.
What I love most about these bars is how versatile they are. Whether you’re keeping things classic or adding your own twist—like a coconut crust or raspberry swirl—there’s room to make the recipe yours. These are the kinds of treats that feel nostalgic and new all at once, just like the best Southern desserts do.
Want more behind-the-scenes recipes, kitchen tips, and Southern dessert inspiration? Come say hi on Facebook and follow along on Pinterest for daily ideas that’ll keep your oven warm and your heart full.
Thanks for joining me in the kitchen. Now go ahead—slice into those key lime pie bars and taste a little sunshine.

