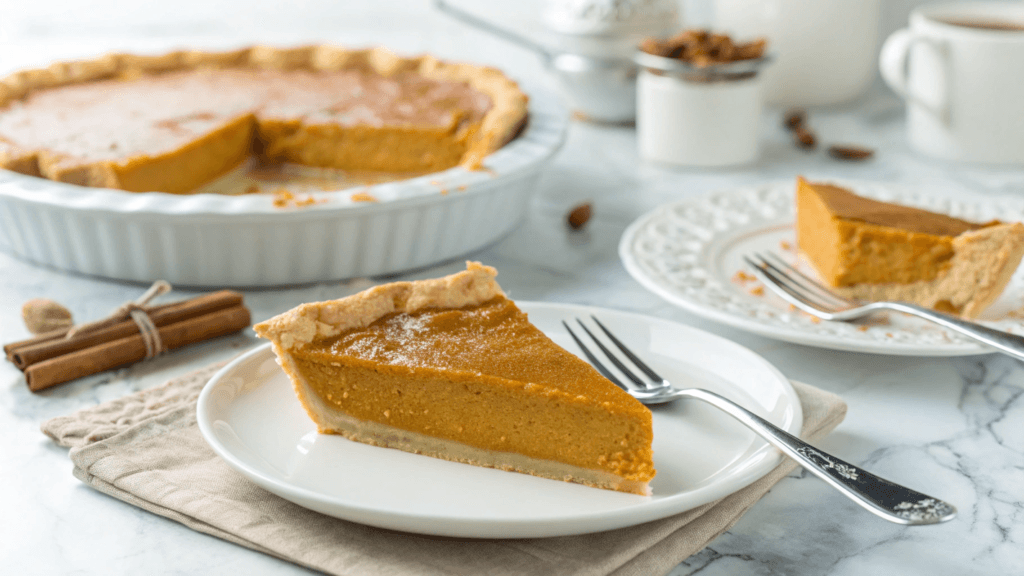
Pumpkin pie is a timeless dessert that brings warmth and joy to countless tables. But one common problem can spoil the fun—soggy crusts. Imagine spending time crafting the perfect pie only to find the bottom disappointingly soft. Wondering, how do you keep the bottom of a pumpkin pie from getting soggy? You’re not alone! This article dives into proven techniques that ensure your pie crust stays delightfully crisp, even under the creamiest filling.
From mastering blind baking to clever filling tweaks, you’ll discover easy tips that make every bite perfect. First, you’ll learn about key pie-making strategies, and then explore creative solutions to elevate your dessert game. Whether you’re a seasoned baker or just getting started, this guide is your ticket to pie perfection. So grab your apron, and let’s dive in—you’re about to transform the way you bake pumpkin pie!
Table of Contents
Understanding Why Pie Bottoms Get Soggy
Common Causes of Soggy Pie Crusts
Pie crusts can become soggy due to several reasons. First, excess moisture from the filling can seep into the crust, making it lose its crisp texture. Next, improper baking methods, like skipping pre-baking, often leave the crust undercooked. Also, not cooling the filling properly before pouring it into the crust can trap steam.
Additionally, the type of pumpkin you use can impact the filling’s consistency. To choose the best pumpkin for your pie, refer to What is the Best Pumpkin for Pie Filling for guidance on selecting varieties with ideal moisture content.
How Pumpkin Pie Filling Affects Crust Texture
Pumpkin filling is naturally moist, and if not handled well, it can saturate the crust. Ingredients like eggs and sugar in the filling release water as they bake, contributing to the problem.

| Factor | Effect on Crust | Solution |
|---|---|---|
| High moisture in filling | Softens the crust | Reduce liquid ingredients |
| Undercooked crust | Traps steam underneath | Pre-bake crust to seal it |
| Improper cooling | Allows sogginess to set | Cool filling before baking |
For tips on crafting a rich, creamy pie, check out Pumpkin Pie Recipe with Condensed Milk, which provides a detailed breakdown of creating a flavorful filling.
Best Crust Preparation Techniques for a Perfect Pie
Pre-Baking (Blind Baking) to Seal the Crust
Blind baking involves pre-cooking the crust before adding the filling. This step helps create a barrier, preventing moisture from soaking into the dough. First, line the crust with parchment paper, then fill it with pie weights or dried beans. Bake at 375°F for 15 minutes to set the shape. Remove the weights and bake for an additional 5 minutes until golden brown.
Blind baking ensures a crisp base that holds its structure even under wet fillings. It’s an essential step for a perfect pumpkin pie.
Adding Barriers: Egg Wash and Breadcrumbs
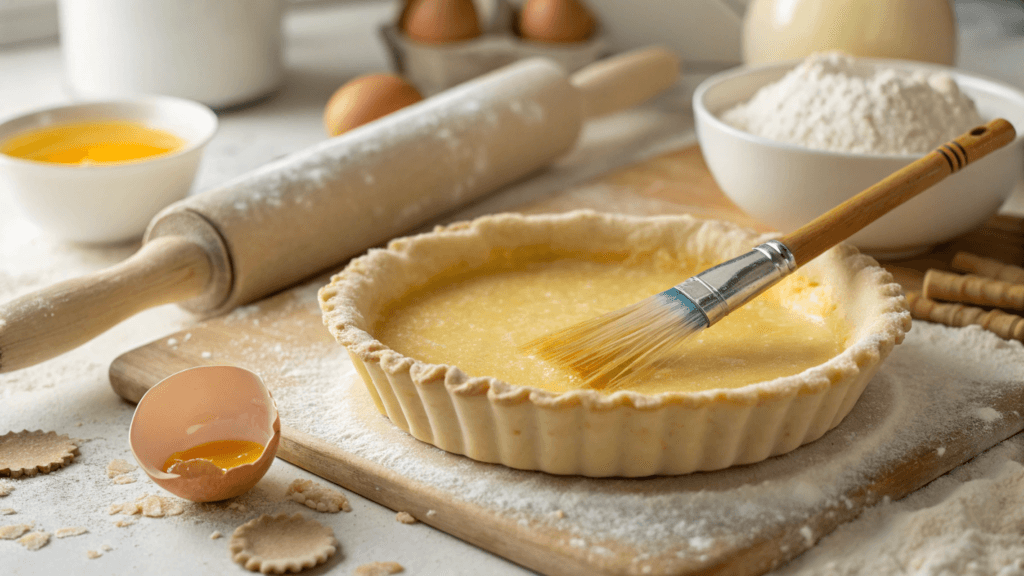
An egg wash creates a protective layer on the crust. Brush beaten egg whites over the crust after pre-baking, then return it to the oven for a minute. This seals the surface and prevents leaks. Alternatively, sprinkling a thin layer of breadcrumbs or crushed graham crackers adds an absorbent buffer.

Quick Tips:
- Egg wash: Adds shine and strengthens the crust.
- Breadcrumbs: Soaks up excess liquid while adding texture.
For a discussion on the benefits of condensed and evaporated milk in pie recipes, explore Use Condensed Milk or Evaporated Milk in Pumpkin Pie to determine which ingredient suits your needs best.
Choosing the Right Pumpkin Pie Filling Consistency
The Role of Moisture in Pumpkin Filling
The consistency of pumpkin filling greatly impacts the crust. High-moisture fillings can weigh down and soften the crust. By reducing liquid ingredients like milk or cream, you can maintain a firmer texture.
Pumpkin puree itself should be strained before use. This step ensures excess water doesn’t compromise the filling. Incorporating stabilizers like cornstarch or flour also helps achieve the desired consistency.
Adjusting Ingredients to Avoid Excess Liquid
- Reduce milk or cream: Opt for condensed or evaporated milk for thicker filling.
- Strain puree: Use a cheesecloth to remove excess water.
- Add cornstarch: Mix a tablespoon into the filling to stabilize.
| Ingredient | Adjustment |
|---|---|
| Pumpkin puree | Strain for less water content |
| Milk or cream | Use reduced or thicker types |
| Stabilizers | Incorporate cornstarch/flour |
Baking Tips for a Firm and Crisp Bottom Crust
Using a Baking Stone or Preheated Baking Sheet
Achieving a firm, crisp bottom crust starts with the right baking surface. A baking stone or preheated baking sheet is a game-changer. These tools transfer heat evenly to the bottom of the pie, ensuring it cooks thoroughly without becoming soggy. Start by placing the stone or sheet in the oven while it preheats to 375°F. When the pie is ready to bake, position it directly on the hot surface.
This technique creates immediate heat contact, which prevents moisture from settling into the crust. It’s especially effective for pumpkin pies with wet fillings. If you don’t have a baking stone, a thick metal baking sheet works just as well. Remember, preheating is crucial—never skip this step!
Benefits of Using Preheated Tools:
- Promotes even heat distribution.
- Speeds up cooking for the bottom crust.
- Reduces risk of underbaked or soggy results.
Managing Oven Temperature and Timing
Proper oven temperature and timing are key to a perfect crust. Baking at 375°F is ideal for pumpkin pie, as it allows the filling to set without overcooking the crust. Always position the pie on the lower oven rack. This placement ensures the bottom crust gets more direct heat, while the filling cooks gently.
Start checking the pie at the 50-minute mark. Look for subtle signs, like a slightly puffed filling around the edges and a jiggle in the center. Overbaking can lead to a dry crust, so keep a close eye on it during the last 10 minutes.
Tips for Consistent Baking:
- Use an oven thermometer to ensure accurate temperature.
- Rotate the pie halfway through baking for even results.
- Avoid opening the oven door frequently, as this releases heat and slows cooking.
Additional Tips for a Firm Crust
- Brush the pre-baked crust with a thin layer of egg wash. This adds a protective seal.
- Allow the filling to cool slightly before pouring it into the crust. This reduces steam and moisture transfer.
- Consider using a pie shield to prevent the edges from overbrowning while the bottom bakes fully.
Quick Comparison Table for Baking Techniques:
| Technique | Effect on Crust | Why It Works |
|---|---|---|
| Preheated baking stone | Ensures even cooking | Transfers heat directly to the crust |
| Lower oven rack placement | Crisps bottom crust | Exposes the base to higher heat levels |
| Egg wash layer | Creates a moisture barrier | Prevents sogginess from the wet filling |
By combining these tips and techniques, you’ll elevate your pumpkin pie game, delivering a firm, golden crust that perfectly complements the creamy filling. It’s like turning every bite into a perfectly balanced dessert masterpiece!
Creative Fixes for Common Pie Crust Issues
Layering Techniques with Chocolate or Nuts
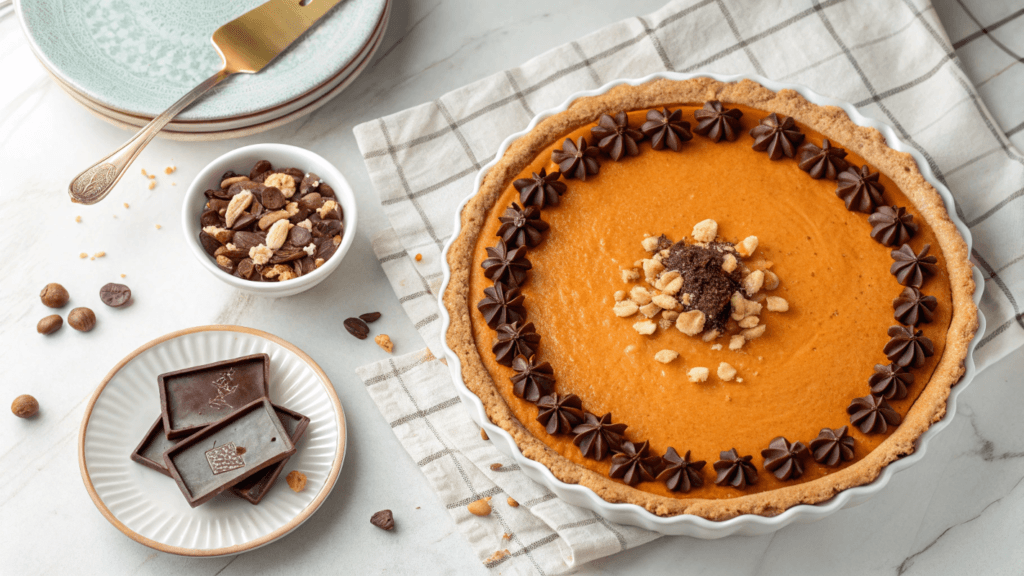
Layering melted chocolate or crushed nuts on the crust creates a moisture-resistant barrier. First, spread melted chocolate over the blind-baked crust. Then, allow it to cool and harden before adding the filling. Alternatively, sprinkle chopped nuts for added texture and flavor.

Incorporating Cornstarch or Flour into the Filling
Adding cornstarch or flour thickens the filling, reducing the likelihood of moisture seeping into the crust.
Additional Tips:
- Chocolate layer: Adds flavor while preventing sogginess.
- Cornstarch: Ensures a smooth, thick filling consistency.
- Nuts: Enhance taste and texture while absorbing liquid.
By implementing these strategies, you’ll never have to worry about soggy pie bottoms again!
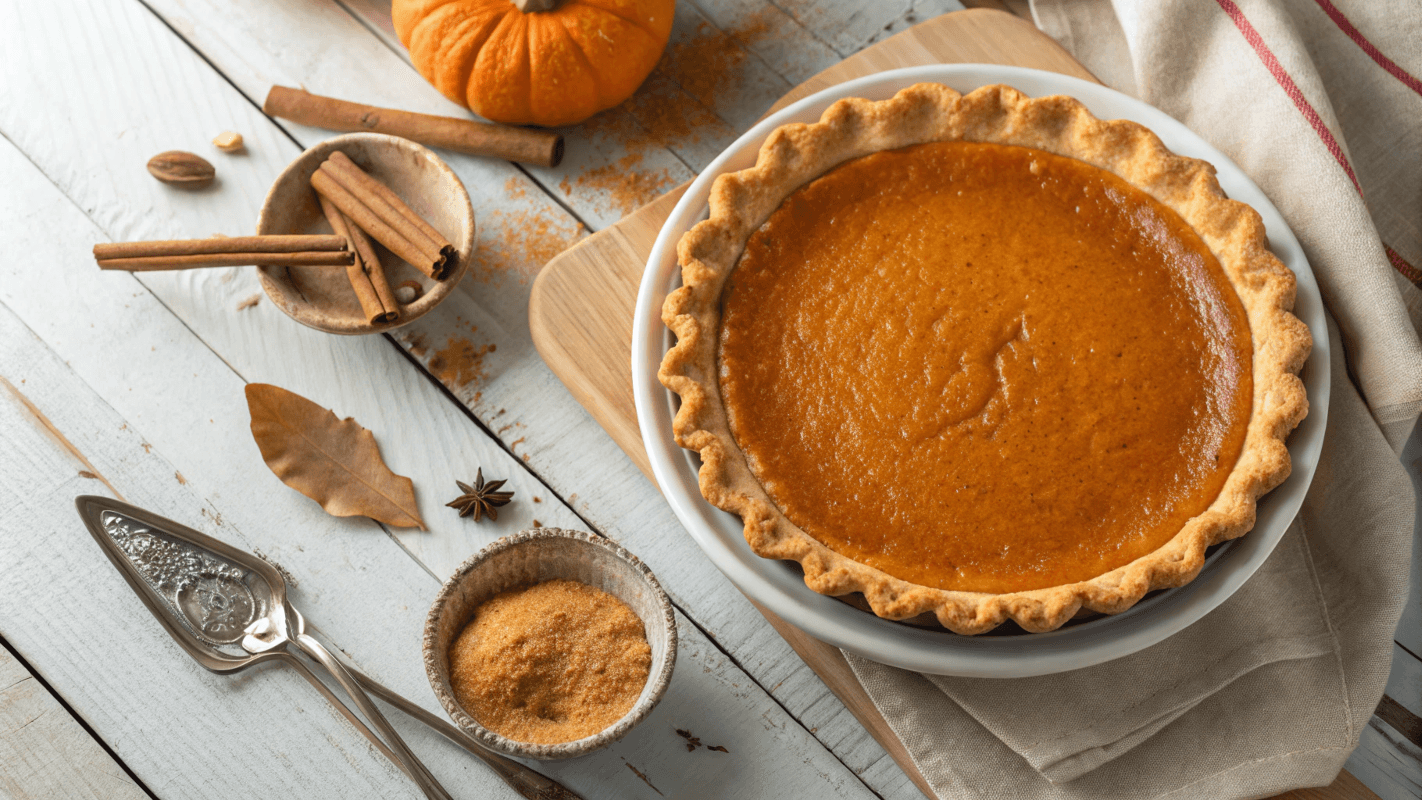
Now that you’ve mastered the secrets to a crisp crust, it’s time to bring it all together with this perfect pumpkin pie recipe!
Crisp Pumpkin Pie Recipe: How to Prevent a Soggy Bottom Crust
Ingredients
A good recipe starts with the best ingredients, and this pumpkin pie is no exception! Here’s what you’ll need:
- Pumpkin Puree (2 cups) – The star ingredient! It brings the rich, earthy sweetness that defines pumpkin pie.
- Evaporated Milk (1 cup) – This helps create a creamy filling while reducing moisture to prevent sogginess.
- Granulated Sugar (3/4 cup) – Adds just the right amount of sweetness to balance the pumpkin’s natural flavor.
- Eggs (2 large) – These work as binders to give the filling structure and keep the crust crisp.
- Ground Cinnamon (1 tsp) – For a warm, cozy spice kick that pairs perfectly with pumpkin.
- Nutmeg and Ginger (1/4 tsp each) – These spices elevate the flavor profile, making each bite unforgettable.
- All-Purpose Flour (1 tbsp) – Helps thicken the filling and reduces excess moisture.
- Pre-Made or Homemade Pie Crust – Choose a high-quality crust for the foundation of your pie.
Optional Garnishes: Whipped cream, a dusting of cinnamon, or a drizzle of caramel sauce for added flair.
Step-by-Step Instructions
Follow these steps to create the perfect pumpkin pie with a crisp bottom crust:
- Preheat the Oven to 375°F (190°C): A hot oven is crucial for setting the crust quickly and preventing sogginess.
- Blind Bake the Crust: Line your pie crust with parchment paper and fill it with pie weights or dry beans. Bake for 10 minutes. This creates a sturdy base.
- Prepare the Filling: In a mixing bowl, combine pumpkin puree, evaporated milk, sugar, eggs, and spices. Whisk until smooth and creamy.
- Add a Protective Barrier: Lightly brush the crust with egg wash or sprinkle a thin layer of breadcrumbs. This seals the crust and keeps it crisp.
- Assemble the Pie: Pour the filling into the pre-baked crust. Spread evenly with a spatula to ensure a smooth top.
- Bake the Pie: Reduce the oven temperature to 350°F (175°C). Bake for 50-55 minutes, or until the center is slightly jiggly but set.
- Cool Completely: Let the pie cool on a wire rack for at least 2 hours. This allows the filling to set fully.
Serving
This pie is best served slightly chilled or at room temperature. Pair it with:
- Freshly Whipped Cream – A dollop on top adds a creamy contrast to the spiced filling.
- Warm Beverage Pairings – Serve with spiced cider, hot chocolate, or herbal tea for a cozy treat.
- Garnish Ideas – Sprinkle with chopped pecans or drizzle with maple syrup for extra elegance.
For further tips on pairing your pie with other fall treats, you might enjoy Vegetarian Cinnamon Sugar Donut Muffins as a complementary dessert.
Tips and Hacks
Here are some handy tips to ensure your pie turns out perfectly every time:
- Blind Baking Is Key: Always pre-bake the crust to lock in its structure.
- Use Egg Wash: Brushing the crust creates a moisture-resistant barrier.
- Thicken the Filling: A tablespoon of flour or cornstarch reduces excess moisture in the filling.
- Cool Properly: Never rush slicing your pie; let it cool to maintain its structure.
Nutrition Facts
- Serving Size: 1 slice
- Calories: 290
- Fat: 10g
- Carbs: 42g
- Protein: 5g
- Sodium: 210mg
- Fiber: 2g
Note: Nutrition facts may vary based on specific brands and preparation methods.
Prep Time
- Prep Time: 25 minutes
- Cook Time: 55 minutes
- Total Time: 1 hour 20 minutes
Enjoy creating this Crisp Pumpkin Pie while keeping the bottom crust firm and delicious!
Frequently Asked Questions :
How do you keep the bottom crust of a pumpkin pie crispy?
To keep the bottom crust crispy, start with blind baking. Preheat your oven, line the crust with parchment paper, and add pie weights. Bake for 10 minutes until it sets and begins to firm up. Next, brush a light egg wash on the crust or sprinkle a thin layer of breadcrumbs. These barriers prevent moisture from soaking into the crust when you add the pumpkin filling. Finally, place the pie on a preheated baking sheet to ensure even heat distribution and crispiness. These simple techniques guarantee a pie with a perfect, flaky crust.
Should I poke holes in the bottom of my pumpkin pie crust?
Docking, or poking holes, in the crust helps release trapped air and prevents puffing during baking. However, avoid this for pumpkin pies. The liquid filling can seep through the holes, resulting in a soggy bottom. Instead, focus on blind baking and brushing the crust with an egg wash to seal it. These methods ensure the crust stays intact and creates a sturdy base for the filling. Preheating your oven and using pie weights will also yield a well-cooked, crispy crust.
How do I stop the bottom of my pie from being soggy?
To stop your pie’s bottom from being soggy, blind bake the crust first to set it. Then, apply an egg wash or layer breadcrumbs before adding the filling. These steps create a moisture-resistant barrier. Opt for a thick pumpkin pie filling to minimize liquid that can seep into the crust. Baking the pie on a preheated baking sheet helps cook the crust evenly and prevents sogginess. Allow the pie to cool completely before serving to ensure the filling is firm and the crust stays crisp.
Conclusion: Master Your Pumpkin Pie Game with the Best Ingredients
Creating a pumpkin pie with a crisp, golden crust is simpler than you think. By mastering techniques like blind baking, using an egg wash, or preheating your baking sheet, you can avoid soggy bottoms every time. Also, adjusting the pumpkin filling consistency plays a key role in ensuring a firm crust. These tips work together to transform your pie into a show-stopping dessert.
Next time you bake, focus on these simple steps to elevate your results. With the right methods, you’ll enjoy a pie that’s both delicious and picture-perfect. Whether it’s for a holiday gathering or a weekend treat, you’re guaranteed to impress your family and friends. So, gather your ingredients, follow these easy tips, and let your baking skills shine. You’re now ready to bake a pumpkin pie that’s truly unforgettable—crispy bottom crust included!


1 thought on “Crisp Pumpkin Pie Recipe: How to Prevent a Soggy Bottom Crust”